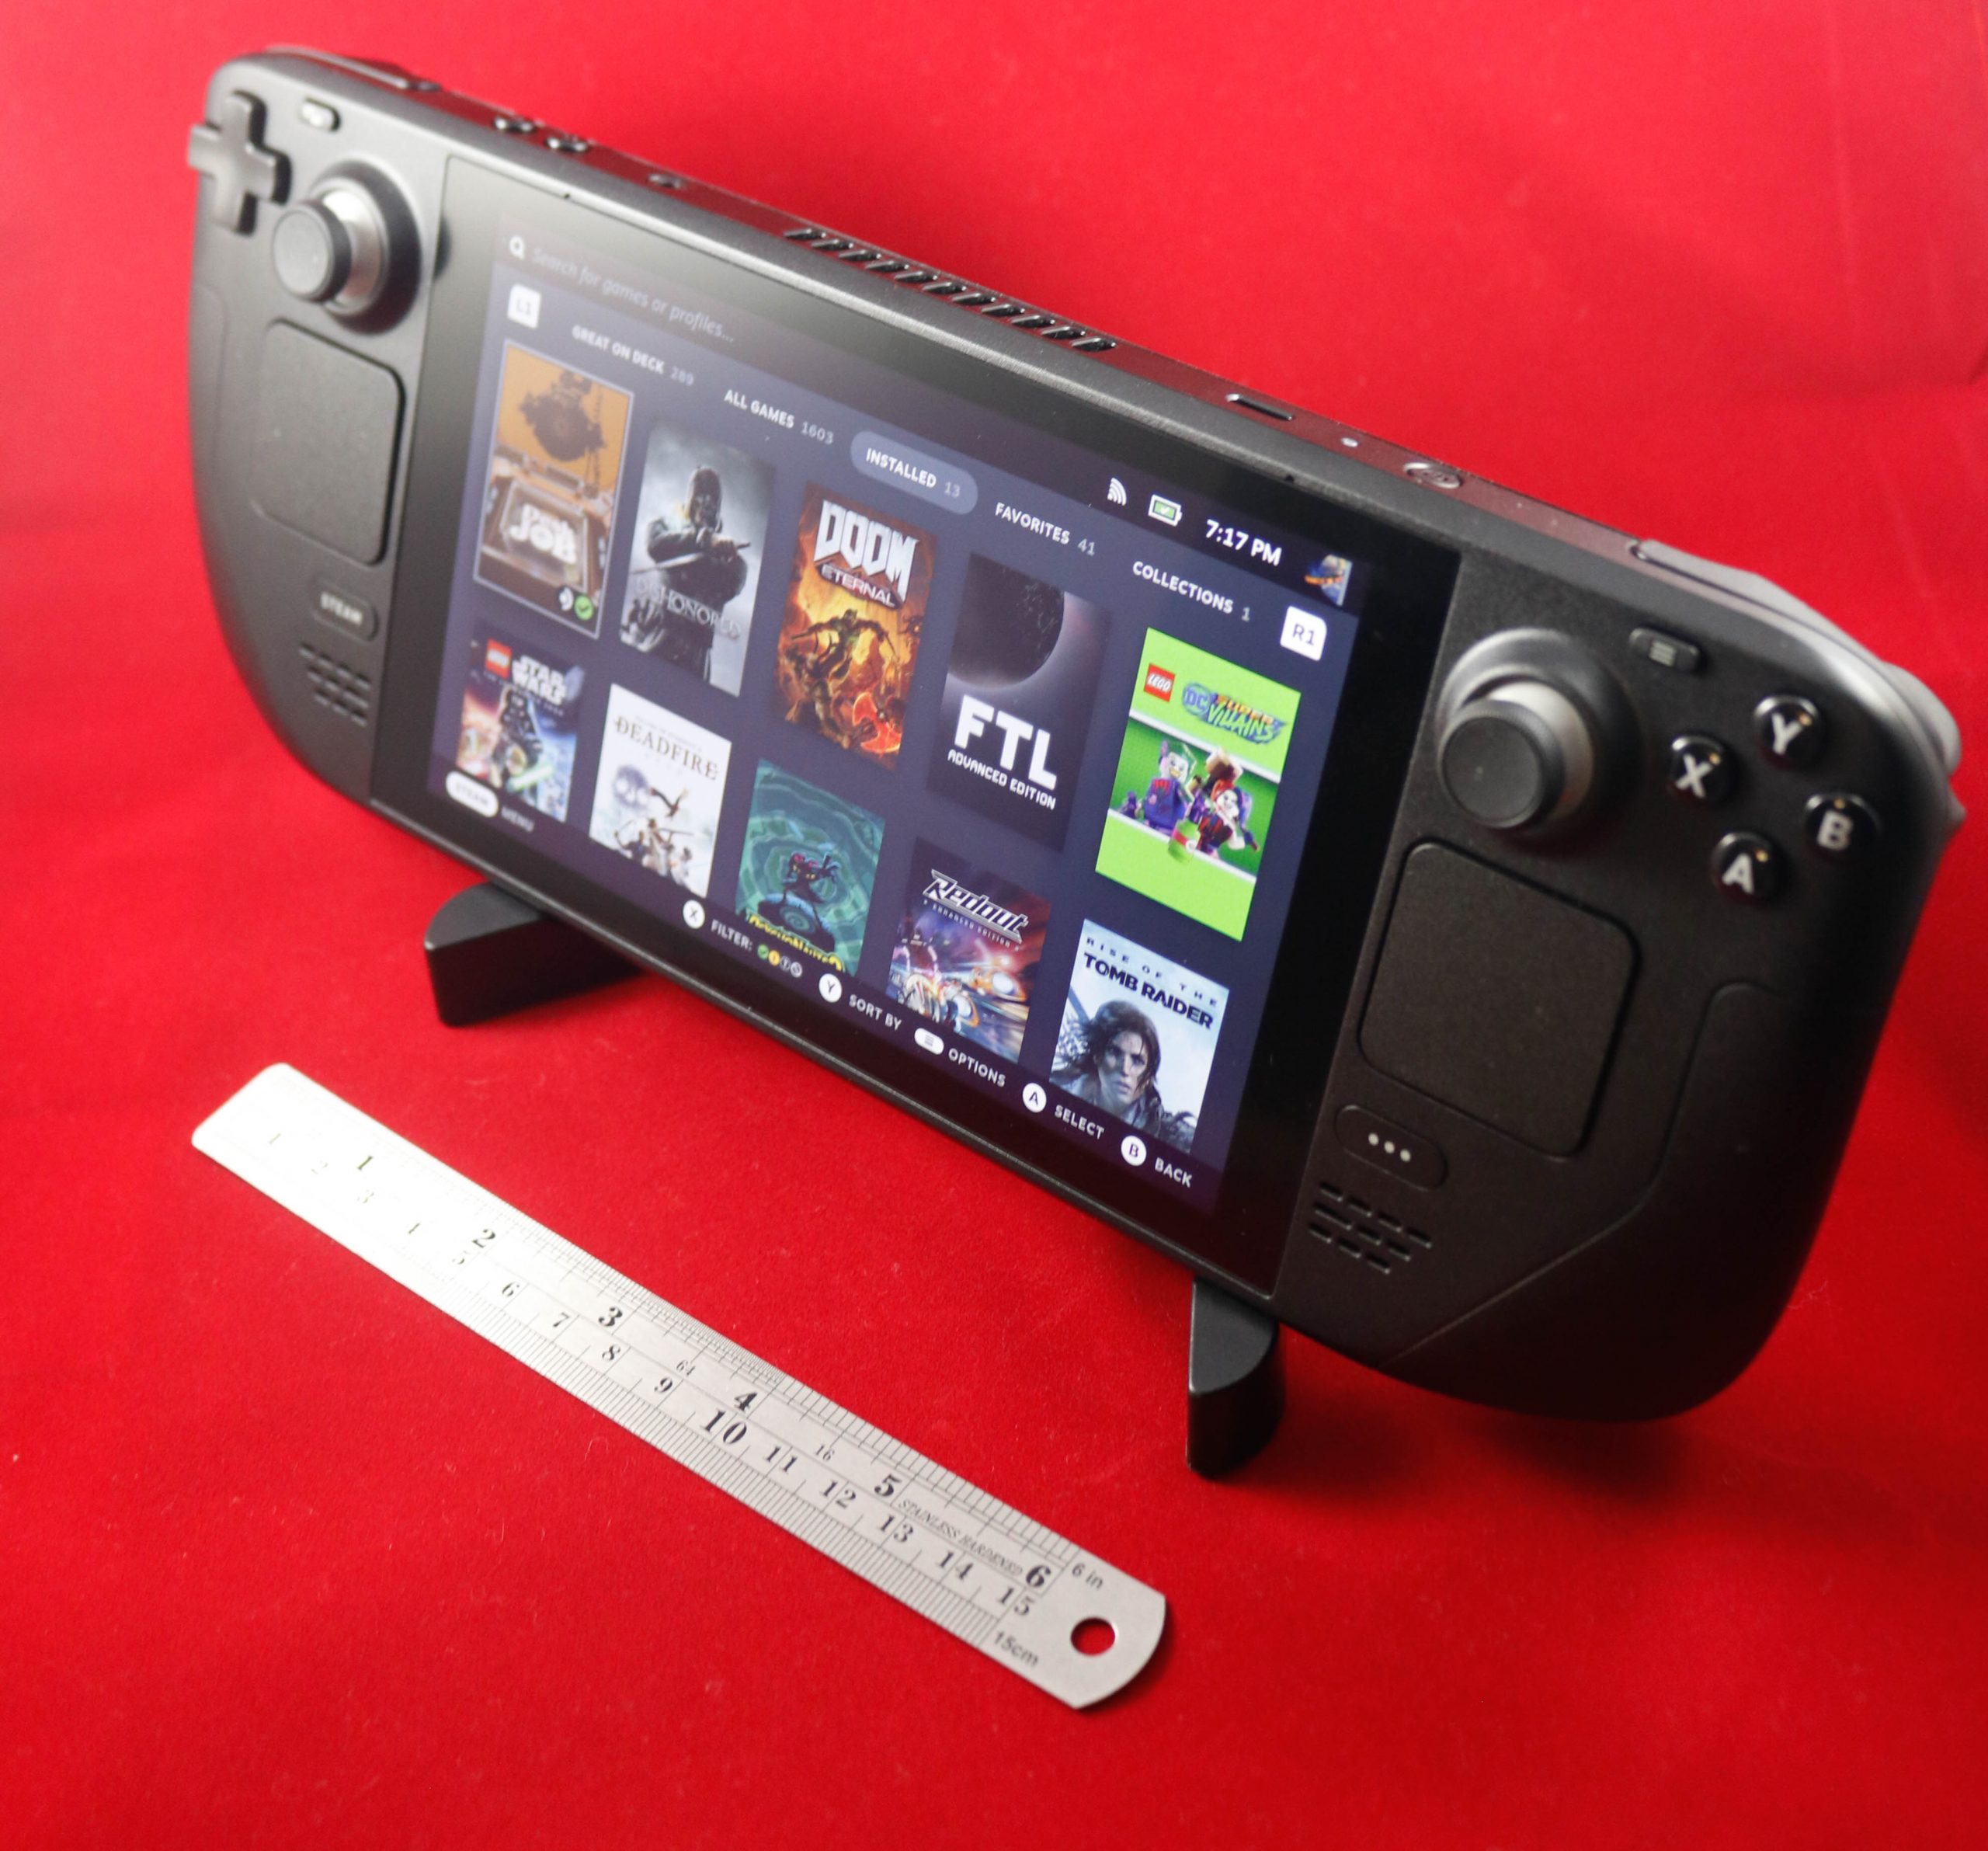
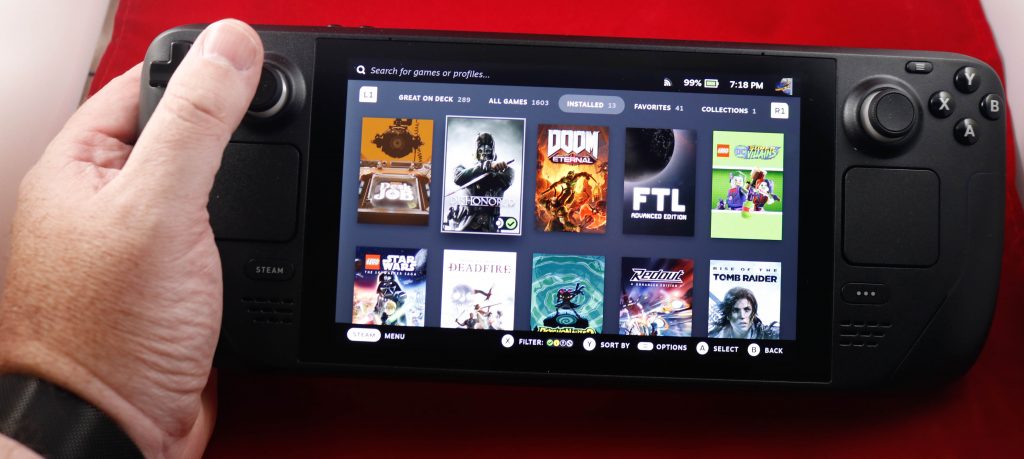
The Steam Deck is a new, handheld, PC from Valve which is focused on being an excellent gaming console but can also do anything else that a PC does. It has a dizzying array of buttons, touchpads, sticks, an AMD APU (combined CPU and Graphics), 16 gig of DDR5 memory, a 7-inch 1280 x 800 touch screen display. a microSD slot and a USB-C port for charging and expansion. The device is 11.7″ wide, 4.6″ tall, 1.9″ thick, weighs about a 1.5 pounds, and comes in three storage configurations:
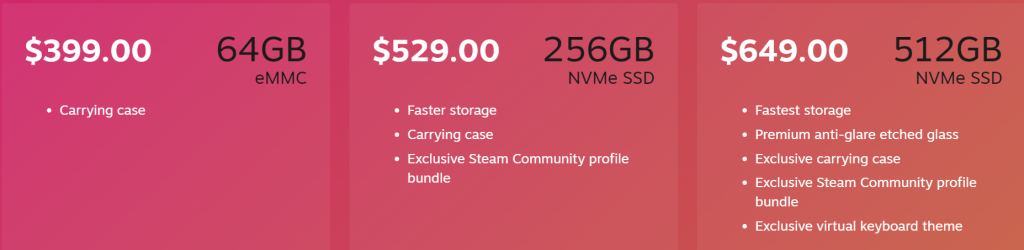
These prices are about half of what a similar gaming laptop would cost
The Steam Deck comes with SteamOS which is a lightly customized version of Linux that makes it easy to organize and run your games – particularly those that you have purchased from, wait for it, Valve’s Steam store. A more conventional computer desktop mode is easy to switch to and it is even possible to install Windows if that is your preference.
Article sections
My Steam Deck
My ‘Deck took a year after I placed my reservation and five months after the actual release date to reach me. I had a frustrating, but apparently very uncommon, experience when I started the machine for the first time. I set my language and time zone and it started to update. After a while it rebooted unsuccessfully.
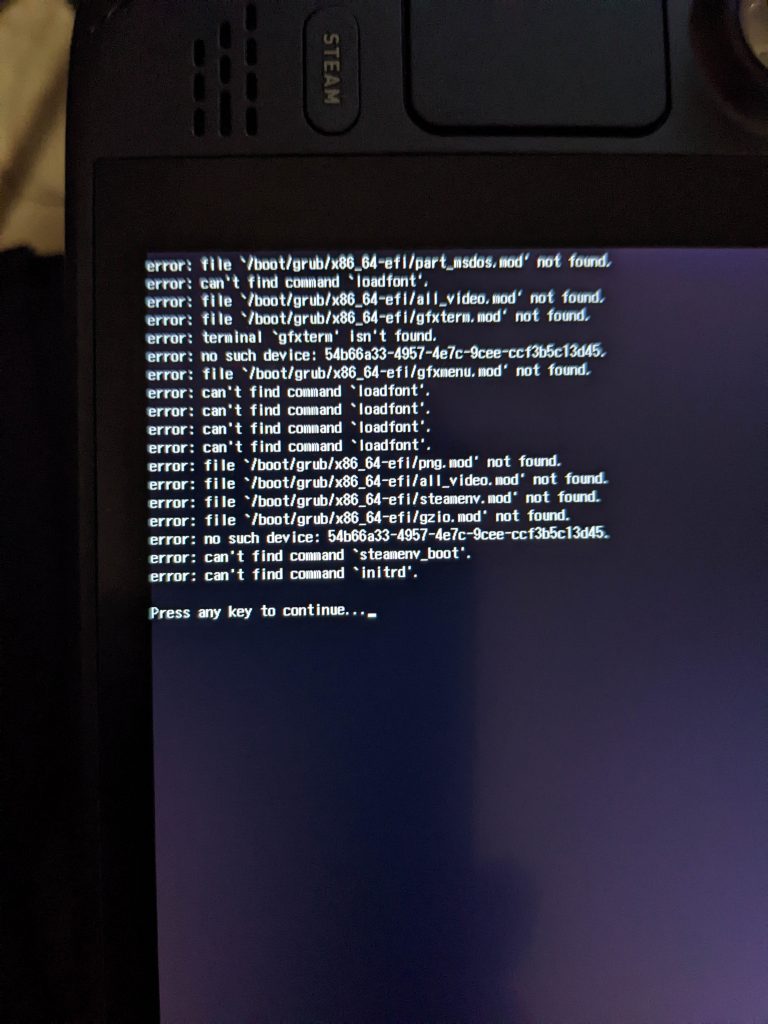
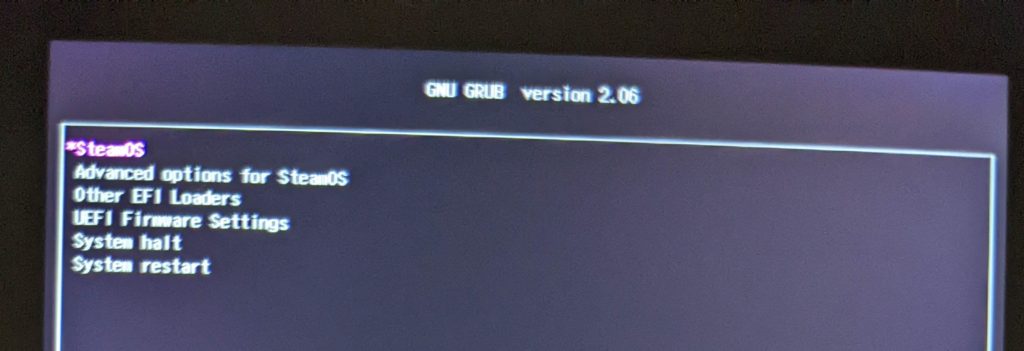
None of the boot loader options did anything useful, nor did a hard reboot. So, I did a little googling and found that I could do a system reimage to start over. That took a USB stick and a hub to connect it to the machine, but half an hour later I was back up and running. Updates took quite a while and a couple of retries, but eventually I made it! I spent some time downloading some of the Steam games that I wanted to play on it. I’ll try to update this article once I have spent some time actually playing on it.
This issue was not at all difficult to fix for someone with some computer experience, but would have been beyond the skills of many people. Hopefully it is extremely uncommon; I didn’t find anyone else with this particular issue in my short google search for a solution.
The ‘Deck comes with a case, a power supply with attached cable, and in the top model only, a micro fiber cloth for cleaning the screen.

Order Process
The Steam Deck was expected to be in high demand. Rather than have a free-for-all with mass confusion and lots of scalpers like the situation with the Playstation 5, new XBoxes, etc., Valve set up a pre-order queue where you could put down a refundable-at-any-time $5 deposit to hold a spot in line. They kept a list of when people reserved and as product was manufactured, they would email you and you’d have 3 days to pay for your order or you would lose your spot (and the deposit would be refunded). The first few hours of ordering were only open to pre-existing Steam customers to reduce the level of scalping.
I was very interested in the console, but was not interested in being a blind tester of the machine. I wanted to make my final purchase decision after a fair number of units had been sold so that any big hardware issues would have time to come to light and major software issues would have time to be addressed. So, I waited about four and a half hours after pre-orders went live to place my order. That resulted in my order being available about five months after initial release and almost exactly a year after I placed my reservation.
Over the five month period between the initial release day and my order being available, I watched a lot of YouTube videos (link is a playlist of reviews), read a lot of articles, and followed owner discussions on reddit. There were some issues, but most were quickly addressed. So, I decided that I would complete my order when my spot in the queue reached the front and (mostly) patiently waited for that to happen.
Order fulfillment is accelerating, but there is currently at least a three month (July to October) estimated wait between placing a deposit and completing the order. Update: Valve announced that all current orders and a limited number of new orders will be delivered this calendar year (2022). Order now and you’ll probably have yours before Christmas.

If you do place an order and want to get a better estimate of when your turn will be I recommend the GetMyDeck fan-developed tool as a way to stay up to date on your approximate status.
Digital Gaming
PC gaming has almost completely moved to digital codes and downloading of games off the internet. It is very unusual to buy a game on a disc or to have an optical disc drive on a new PC. Even when you buy a game box in a physical store it will most often come only with a long text code that has to be typed into an online store in order to unlock the right to download the game.
Valve’s Steam is the largest digital game distribution storefront. Others include Electronic Art’s Origin, Epic Games, GoG.com, and Ubisoft’s Connect. There are also lots of storefronts that sell game key codes to redeem on Steam, Origin, etc. including Humble, Green Man Gaming, and Fanatical.
The Steam Deck is configured natively to work well with, not surprisingly, Steam. Over the almost 20 years that Steam has been around, I have accumulated a large library of games on their system. With a little effort the other companies’ launchers/storefronts can be loaded and used as well. This wiki page maintains links to instructions on how to install and use non-Steam launchers so that games you have bought on Origin, Epic, Ubisoft, or GoG can be used. There are also lots of great YouTube walkthroughs on this subject.
As I mentioned earlier, the Steam Deck is running Linux as its operating system, not Windows. Two Linux based tools, Wine and Proton, provide the compatibility necessary to run games designed for Windows on the Steam Deck. This works extremely well, but is not perfect. Valve marks games on Steam that they have tested with indications of how well each game will work on the ‘Deck. Even games that they say don’t work well or haven’t tested can sometimes run well with enough tweaks to the game’s settings – see discussion on Steam or elsewhere for what people have tried. Of course, in a pinch, Windows itself can be loaded onto the ‘Deck to possibly improve compatibility at the cost of some noticeable performance.
There is also a thriving emulation community using the Steam Deck to run retro games from old consoles and arcade systems. Emudeck.com is a good place to start for tools to install the emulator applications.
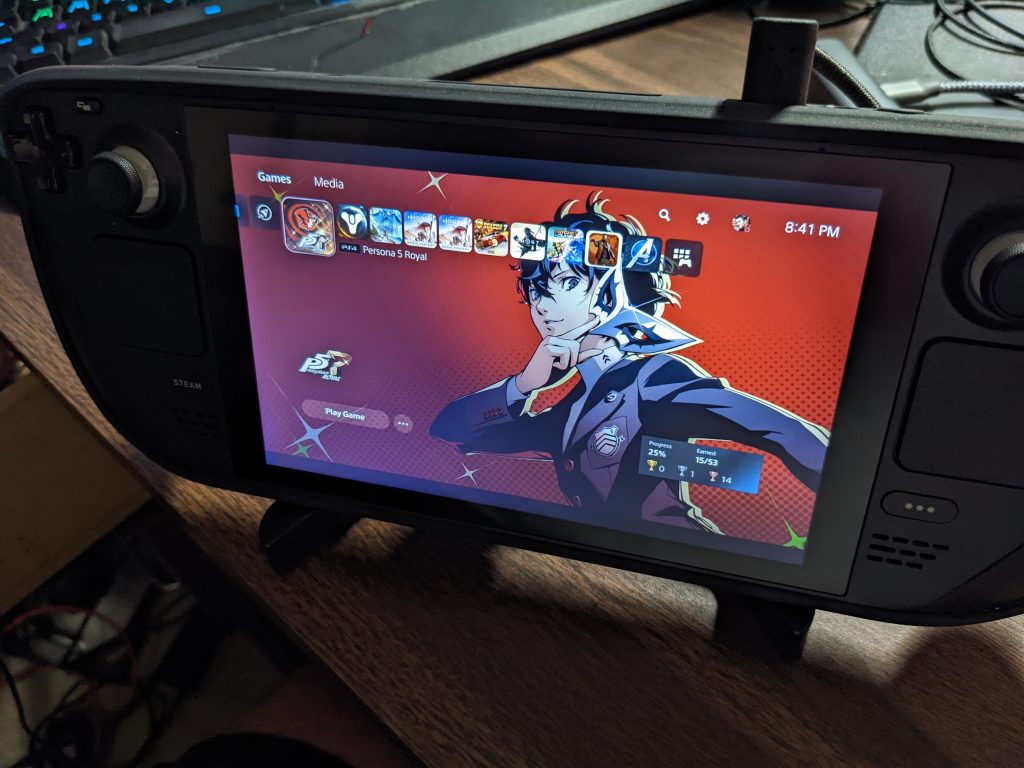
You can even stream games from some consoles or PCs using the Playstation’s Remote Play functionality and the Chiaki program on the ‘Deck or Steam’s Remote Play and Steamlink capability to stream a PC game.
Non-Game Applications
Whenever people ask if the Steam Deck can do something, the quick answer is generally “Yes, it’s a PC”. You can install office applications, edit photographs, watch movies, stream out to YouTube, and just about anything else you can do on a laptop or desktop computer. In most cases your easiest route will be to install a free Linux program that works very similarly to the paid Windows one. LibreOffice works very similarly to Microsoft Office. The GNU Image Manipulation Program (GIMP) works a lot like Adobe Photoshop. The ‘Deck’s “Discover Software Center” pulls applications from flathub which is a generic Linux software repository. You can search their webpage to see what is available.

You’ll probably want to add a USB or bluetooth mouse and keyboard if you’re going to use the ‘Deck as something other than just a handheld gaming console. You may even want to attach it to a larger monitor. All of this is very straightforward using off-the-shelf USB hubs, cables, and USB or bluetooth accessories. The next section will discuss some of these that I have bought and tested.
Accessories
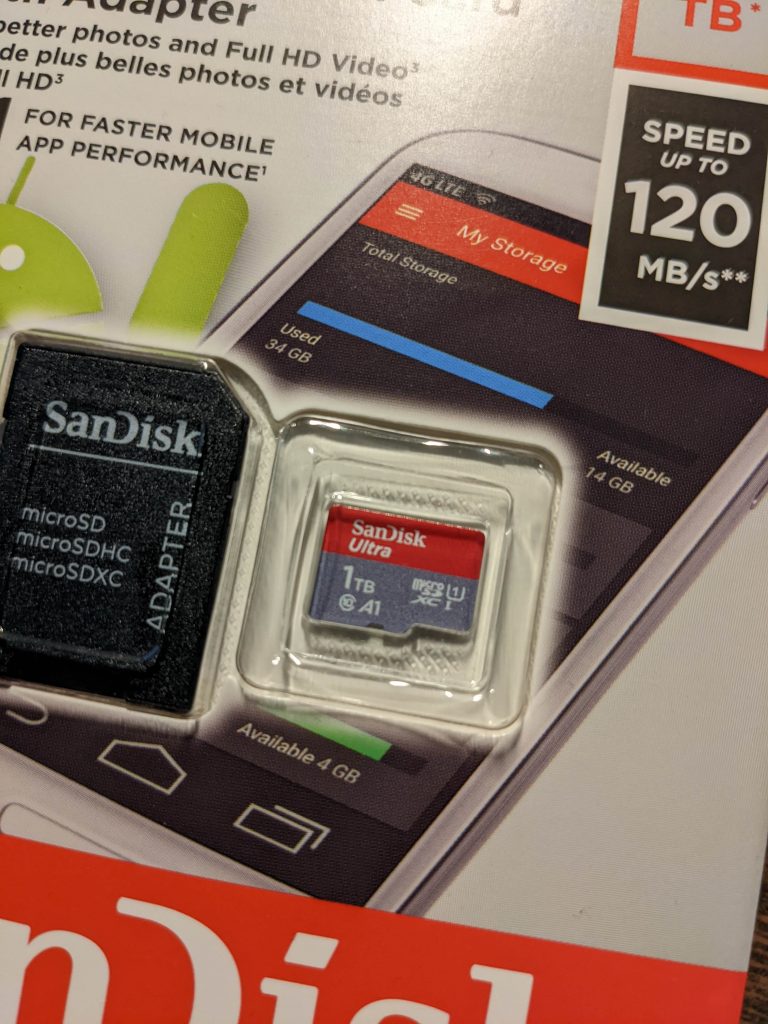
The first thing that you’ll probably want to buy is a micro-SD memory card to expand your storage. PC games can be quite large and can fill up the built-in storage very quickly. I chose to buy a very large 1 TB card but not to pay the premium upcharge for the fastest speed.
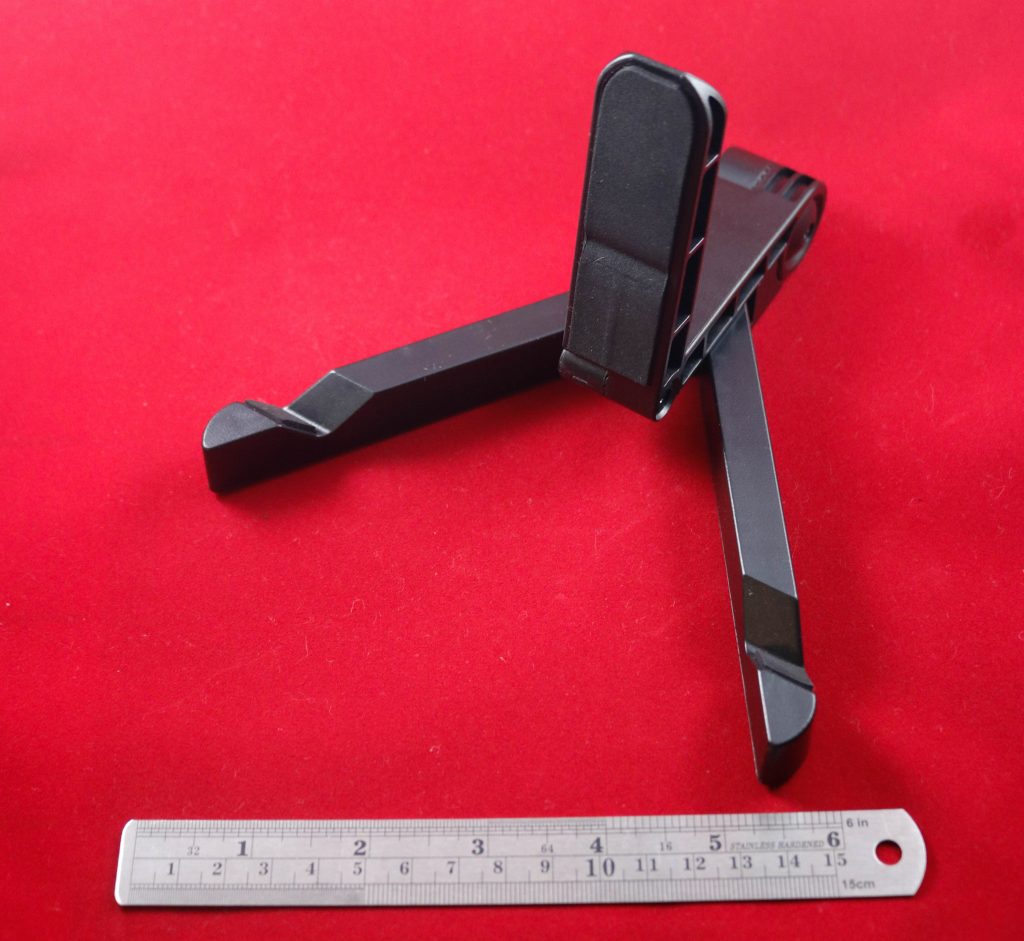
Next, I ordered a stand. There are a lot of options including some that are designed specifically for the ‘Deck. Valve will eventually release a dock (combined stand and hub). I chose a foldable model that is designed for tablets and was $10 when I purchased it. It works great for my ‘Deck and is adjustable. My ‘Deck is sitting on this stand in many of the pictures above.

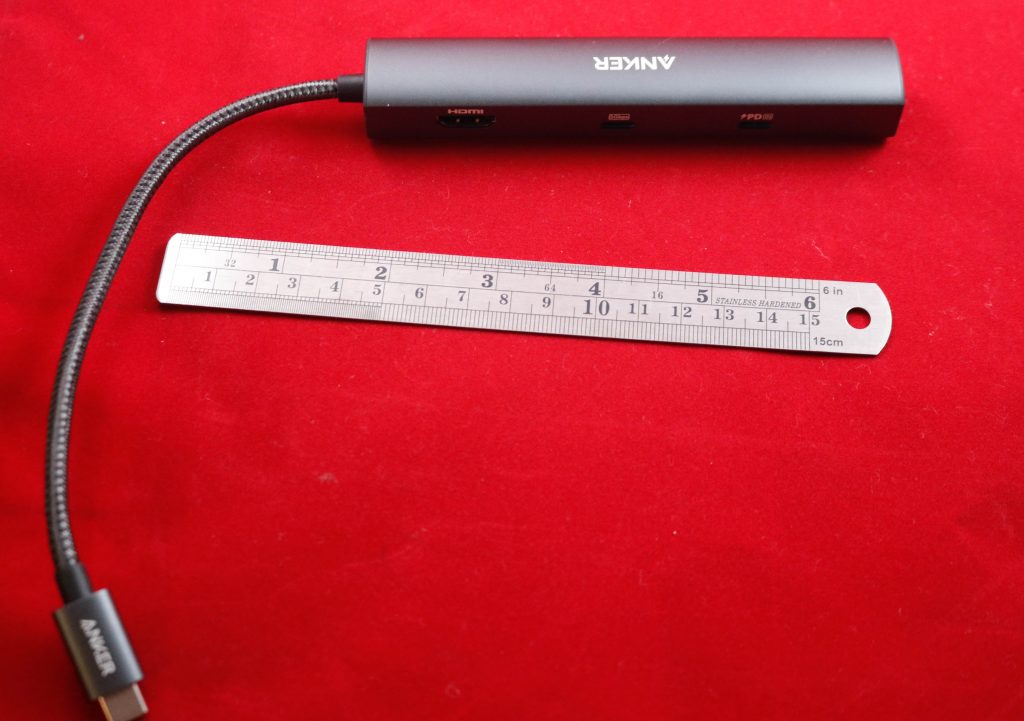
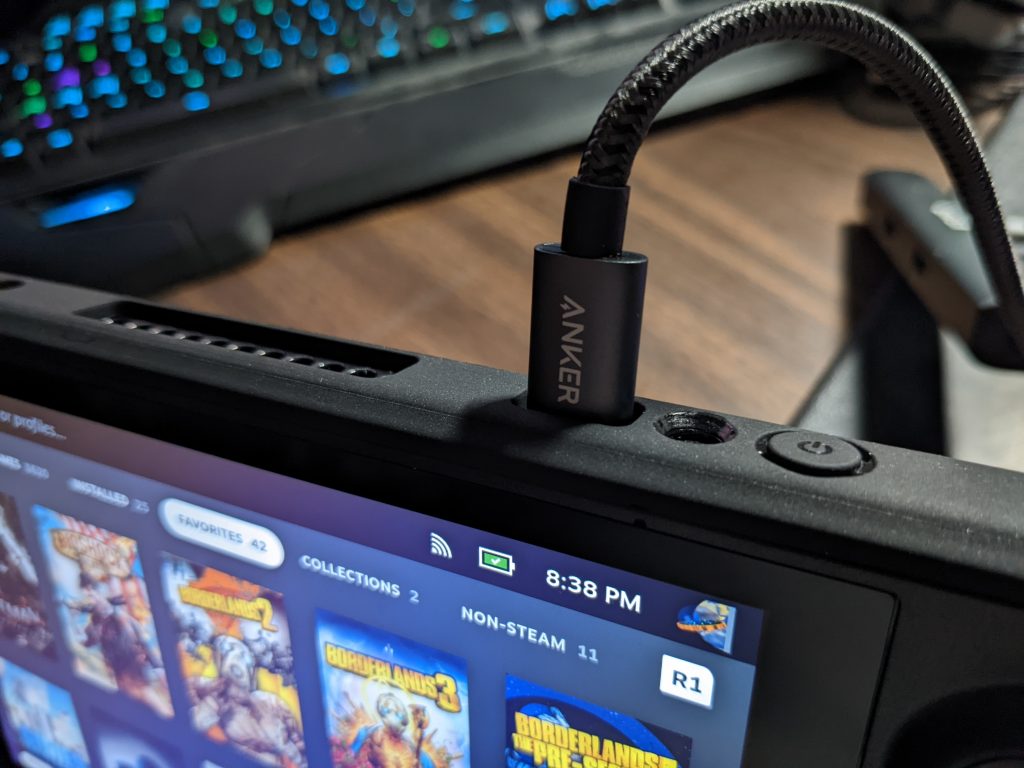
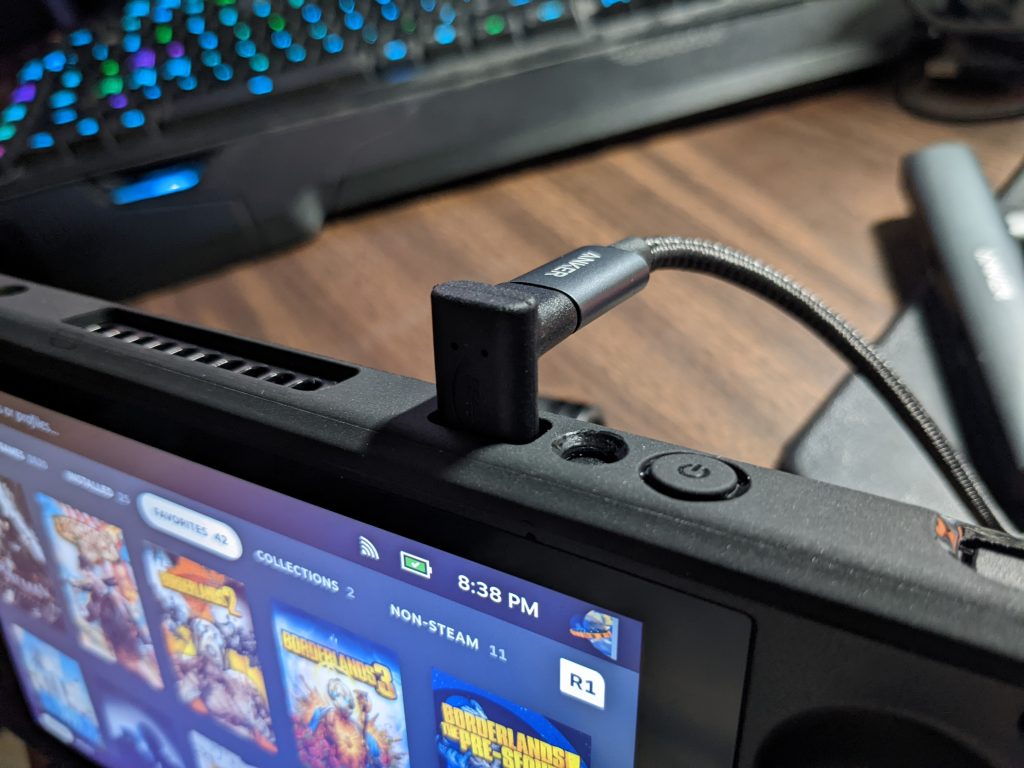
The next item that I purchased was a USB-C hub. This one has charging passthrough, ethernet, HDMI out, and several USB ports (A and C). I’ve used the ethernet to download games much faster than over wifi, the HDMI out just to test desktop mode on a monitor (it works), but most critically, I needed the USB-A port to connect a USB stick with the system reimage software. A 90-degree turn in the connector to the ‘Deck might be better than the cable sticking straight up/out. I am connecting the ‘Decks included power cable to the hub which passes it on to the console.
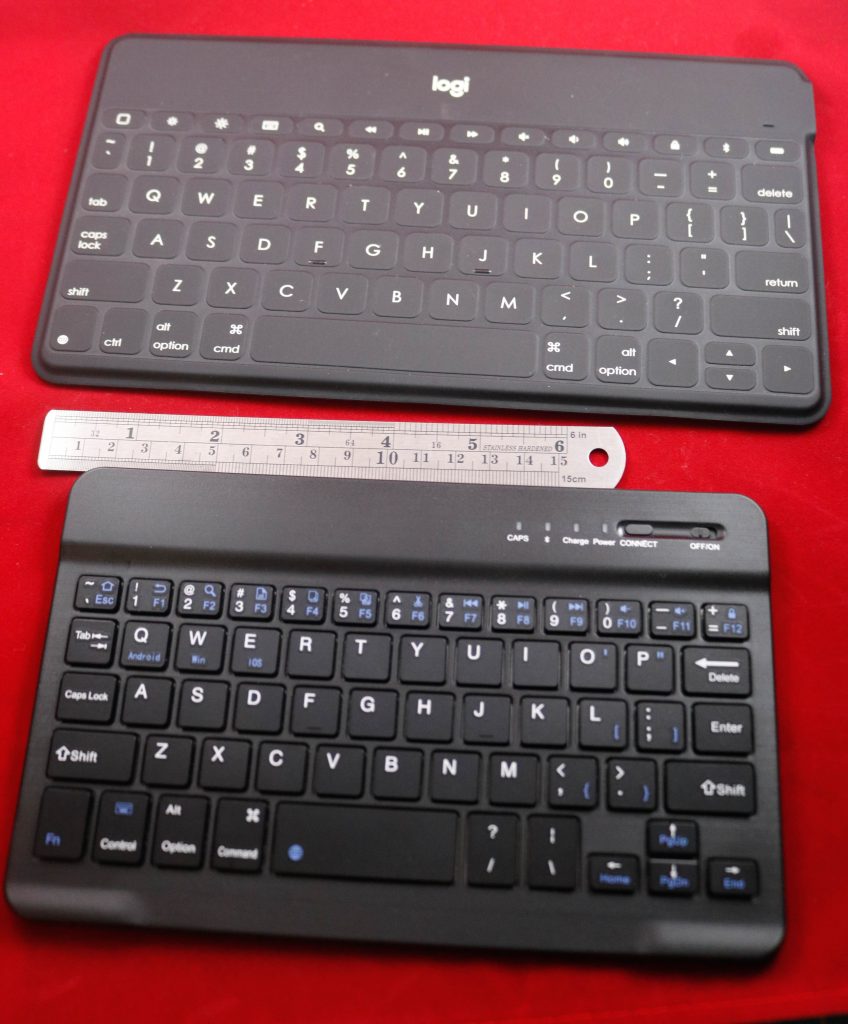
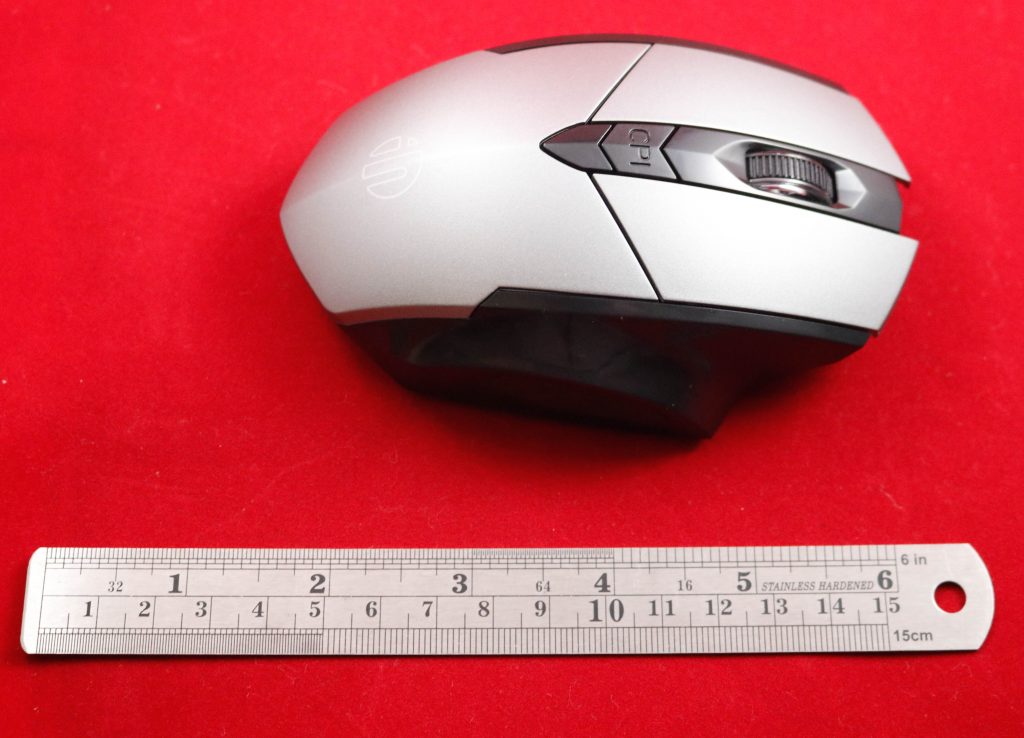
Since I was interested in being able to work in desktop mode occasionally, I wanted a mouse and keyboard. For portability sake, I chose to get bluetooth versions rather than USB. And, oddly, I chose to get a small keyboard and a full sized mouse. Both keyboards and the mouse recharge with a micro-USB cable.
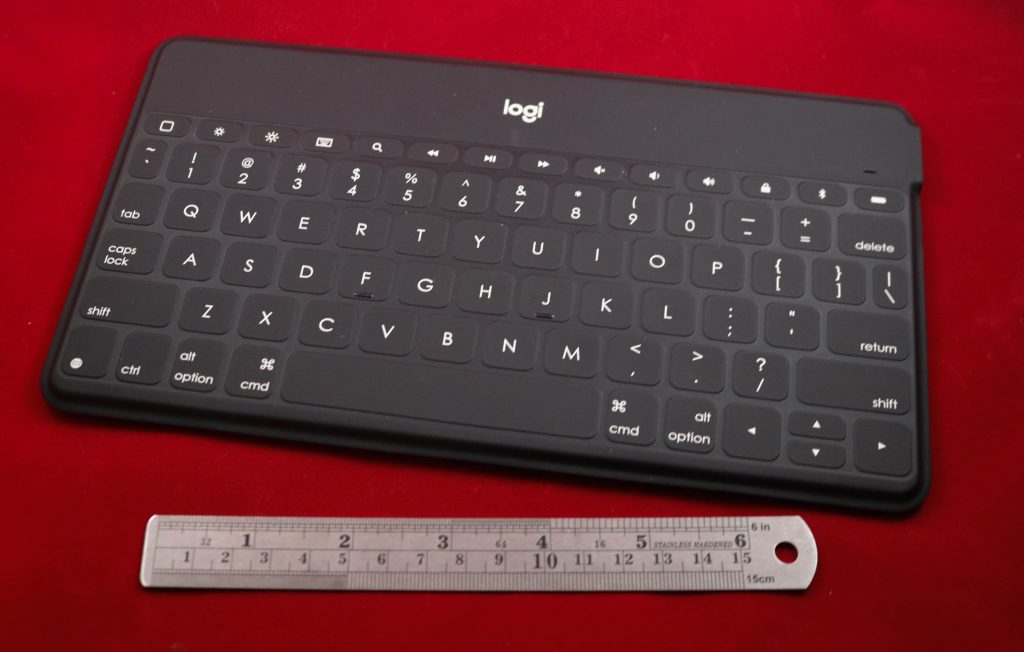
I already owned a Logitech bluetooth keyboard that I use with my Samsung tablet. It works fine with the Steam Deck as well and is spill resistant.
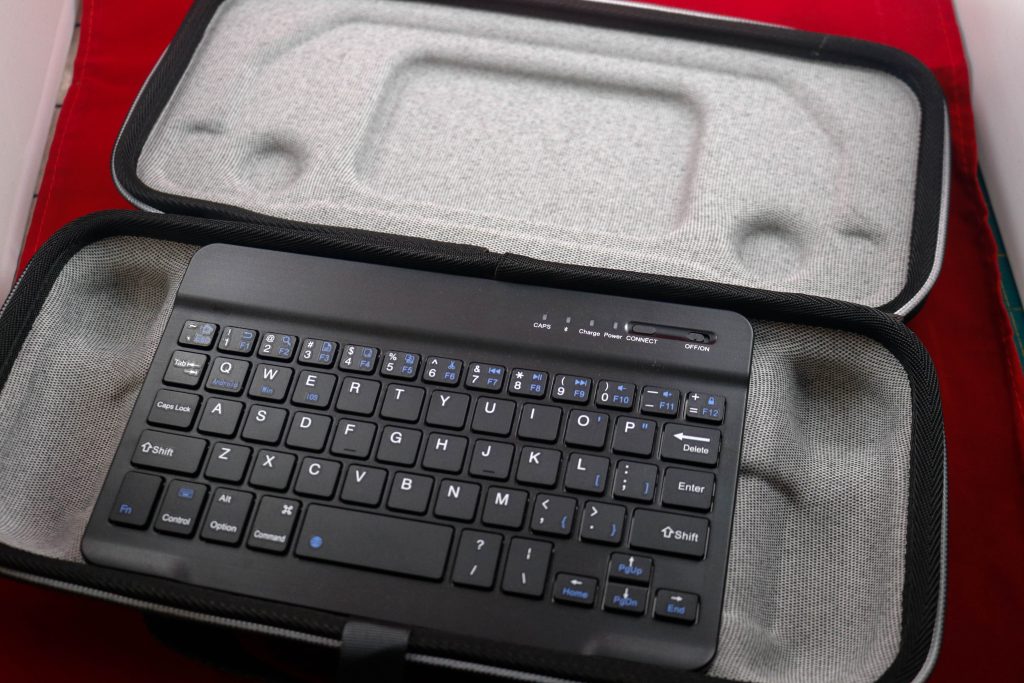
I also spotted this $10 keyboard that will actually fit in the case with the Steam Deck.
And, I got a full-sized mouse to match my large hands.
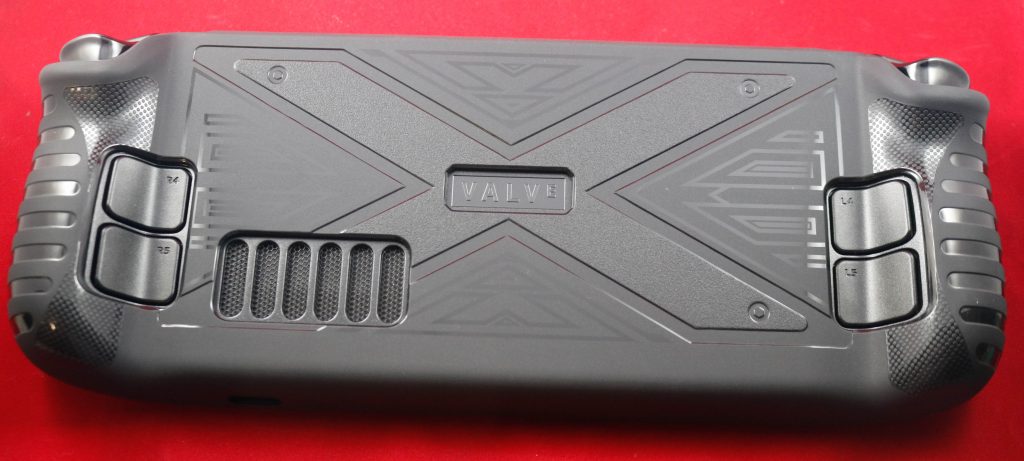
I decided to add a little extra protection to the outside of my case. This rubbery plastic skin protects the back and sides from scratches while leaving openings for all the buttons and fan intake/outlet. It is comfortable to hold and still fits on the stand and (snugly) in the case with the small keyboard. There is a lip on the top corners to protect the bumper buttons that takes a little getting used to.


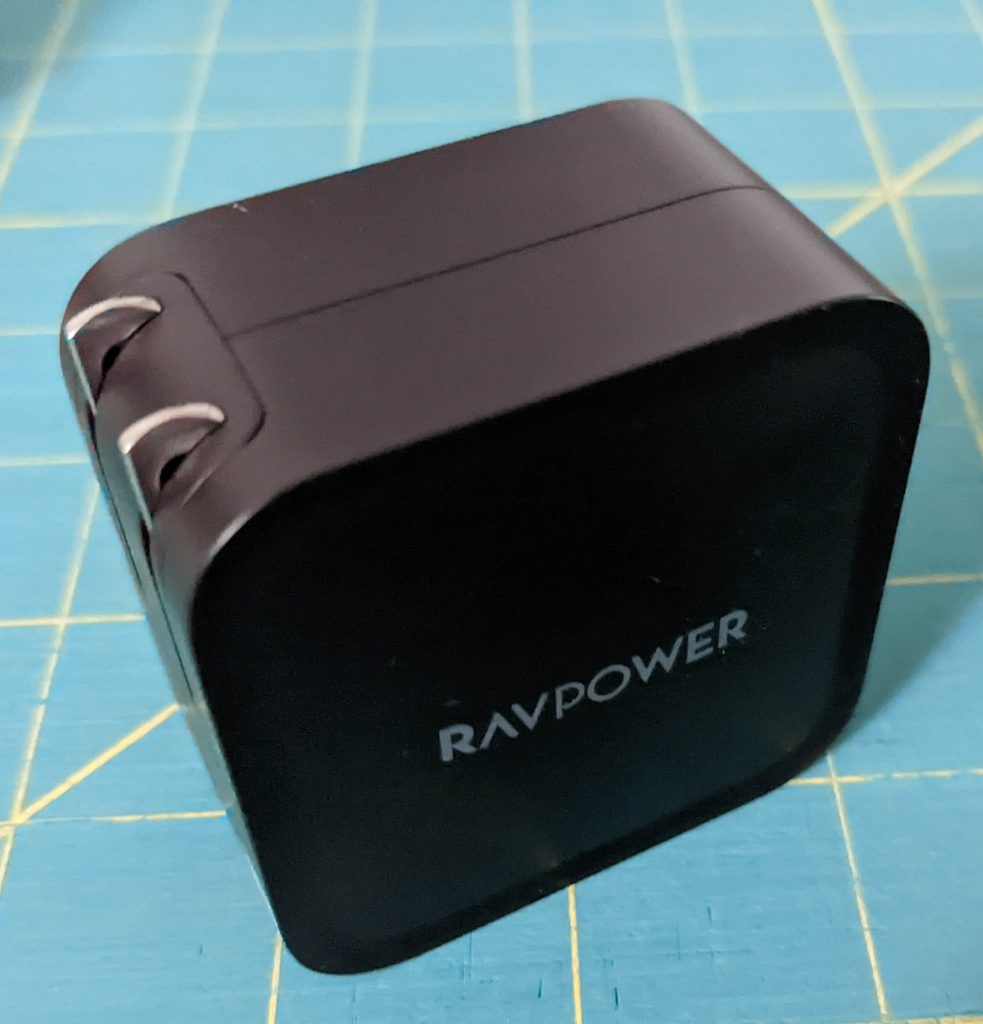
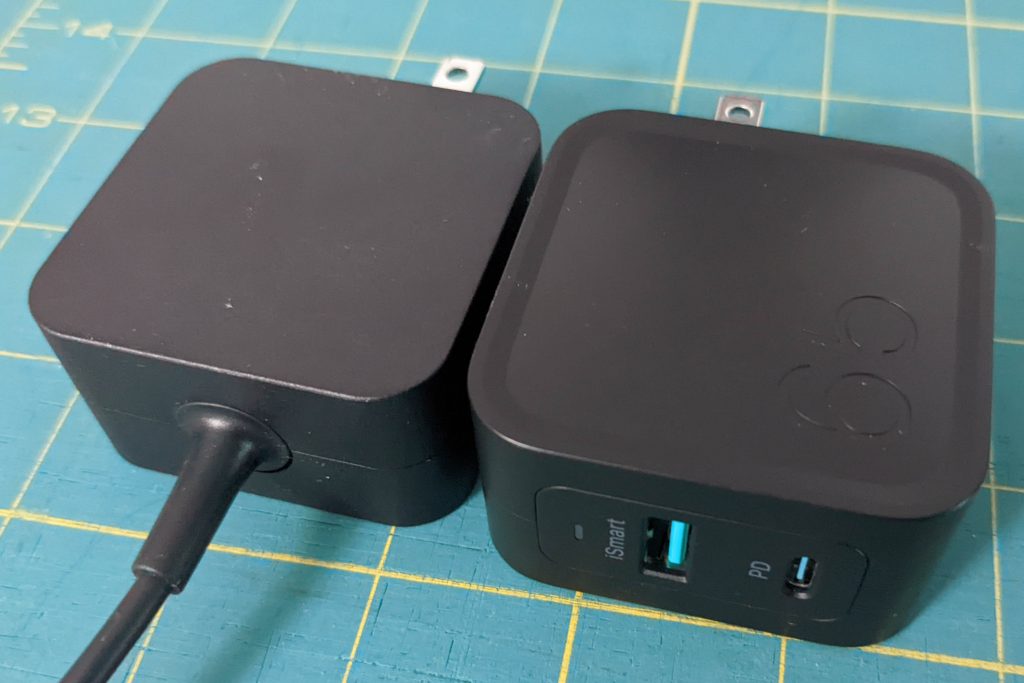
The power brick included with the ‘Deck is a 45W charger with a 5’ fixed cable. I ordered a different model with a longer removable cable. The brick is almost exactly the same size, but it has both a USB-A and a PD USB-C port and outputs up to 65W allowing some extra power for peripherals attached to the hub. Plus the plug rotates for easier storage. Despite the generic Amazon listing both the box and the charger are branded “Ravpower” which was a very popular brand until Amazon delisted the whole brand due to review misbehavior.
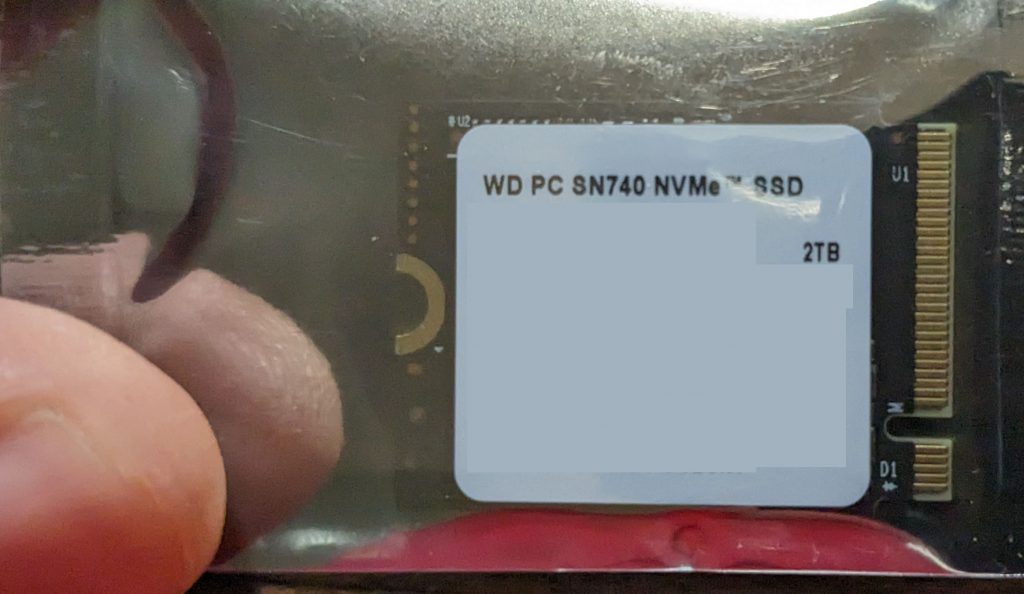
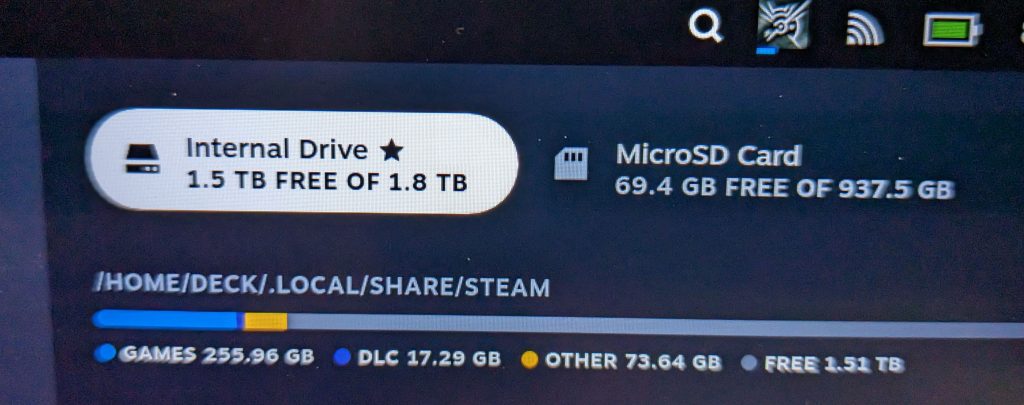
Almost a year after I bought my ‘deck, I decided to upgrade my onboard storage from the 512gb stock drive to a 2tb drive. The ‘deck requires a 2230 drive (22 mm wide and 30 mm long) which are a bit more expensive and currently in somewhat short supply. I purchased a 2tb Western Digital WD SN740 on AliExpress from the Unikflash store for $175 shipped: AliExpress link. Exercise care when ordering from Ali as some of its storefronts are dodgy and people have reported receiving fake cards. But people (including myself) seem to be successful with the Unikflash store. If you’d like to be more careful you can order from Western Digital or Amazon at a higher price.
I put the new SSD into an external SSD enclosure, swapped the ‘deck into desktop mode and used the command “sudo dd if=/dev/nvme0n1 of=/dev/sda bs=256M conv=sync status=progress” to clone my old drive onto the new one. Then I rebooted onto the new drive (while still in the enclosure) to make sure that my clone was successful. Finally, I followed a couple of different YouTube videos to direct the actual opening and installation of the new drive. It wasn’t awful, but I did strip the two tiny screws on the metal shield and ended up carefully bending it out of the way and then back. After reassembly, all was good and I had a massive amount of new space. I’ve now been using it for about a month and have been very happy.
Here are the accessory links again (most are affiliate links):
- 1TB microSD card
- Stand
- USB-C Hub with charging passthrough, ethernet, HDMI out, and several USB ports (A and C)
- Tiny, inexpensive bluetooth keyboard that fits in the bottom of the Valve case
- Logitech bluetooth keyboard purchased for use with a tablet, but also works great with the ‘Deck
- Bluetooth Mouse
- Protective rubber/plastic wrap/case
- 65W USB-C PD Charger
- 65W USB-C PD 20000mAh battery – recharge your ‘deck at full speed while traveling!
- Anker 140W USB-C PD 24000mAh battery – bigger and a bit more expensive
- 90 degree USB-C adapter – these particular ones worked but interfered a little with the rubber case and wouldn’t stay fully inserted. A good choice if you don’t have a case like mine.
- 90 degree USB-C adapter try 2 – this one was a slightly different shape, works, and doesn’t interfere with the case.
- Western Digital 2230 SSD on AliExpress’s Unikflash store
- 2230 SSDs on Amazon
- external SSD enclosure