
I have been filming and posting videos to YouTube since 2016 at a fairly slow pace. My historic martial arts channel, LearnFiore, is now up to about 40 videos and 160 subscribers. Clearly I am not destined for YouTube riches, but I’m still starting to get questions about what gear I am using to create my videos. So, this article will start as just a list of Amazon affiliate links (I will get a small commission for anything people buy from clicking on the links. This helps cover the cost of my web hosting fees for this page) for the gear I’m using but may evolve into a more detailed set of recommendations, its own video, or perhaps an in-person class at some point. We’ll see how it goes.
Starting Out
My first few videos were shot on a Samsung Galaxy Tab A tablet. I have since upgraded to a Samsung Galaxy Tab S9 FE which I still use as a tablet but not as a camera. Some footage was also shot on my cell phones using a very small shotgun microphone that plugged into the headphone jack. The one linked below is similar, but connects to a USB-C port on the tablet/phone.
Evolving
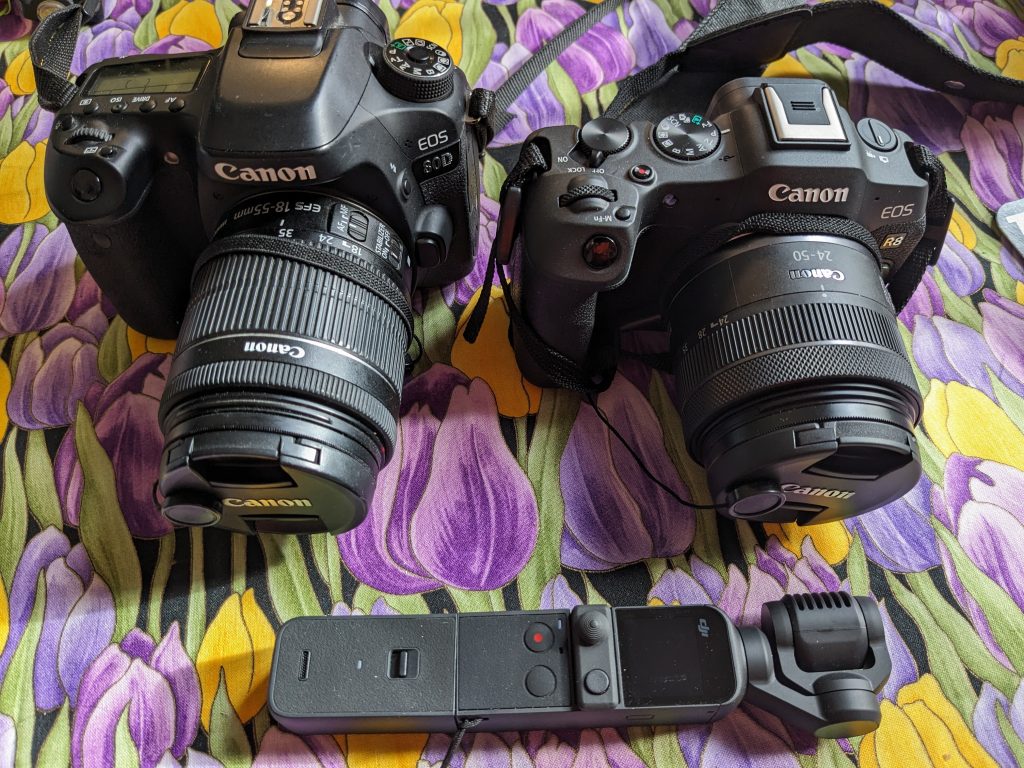
Most of the more recent videos have been shot using a Canon 80D digital SLR which I bought in 2017. I mount it on a tripod and use a larger shotgun-style microphone that mounts on the top hot shoe of the camera. There are many newer models that will perform similarly. Software wise, I had purchased the last “pay once” licenses for most of the Adobe software suite: Photoshop, Illustrator, Premier Pro, After Effects, and Lightroom. I don’t use them enough to justify the current subscription price.
- Canon 80D body – renewed – on Amazon
- Tripod similar to the one I have
- Rode shotgun microphone on Amazon
Streaming
During Covid, we collectively moved meetings and classes online. I developed an improved set of presentation tools for teaching online and even taught a class about them.
Spiffing Up Your Online Presentations on the Cheap class
The core of the class was using cheap cameras that you may already own, a free mixing/switching program called OBS, and a few very optional accessories. Here are a few links to that optional hardware:
- Elgato 15-key Stream Deck Mk 2 (you can get 6, 32 or other variants as well) I use an older 15 key model.
- Cell phone holding arm – mine has a lamp base rather than a clamp
- Improved microphone
- Cheap, generic webcam similar to what I use
New Mobile Gear
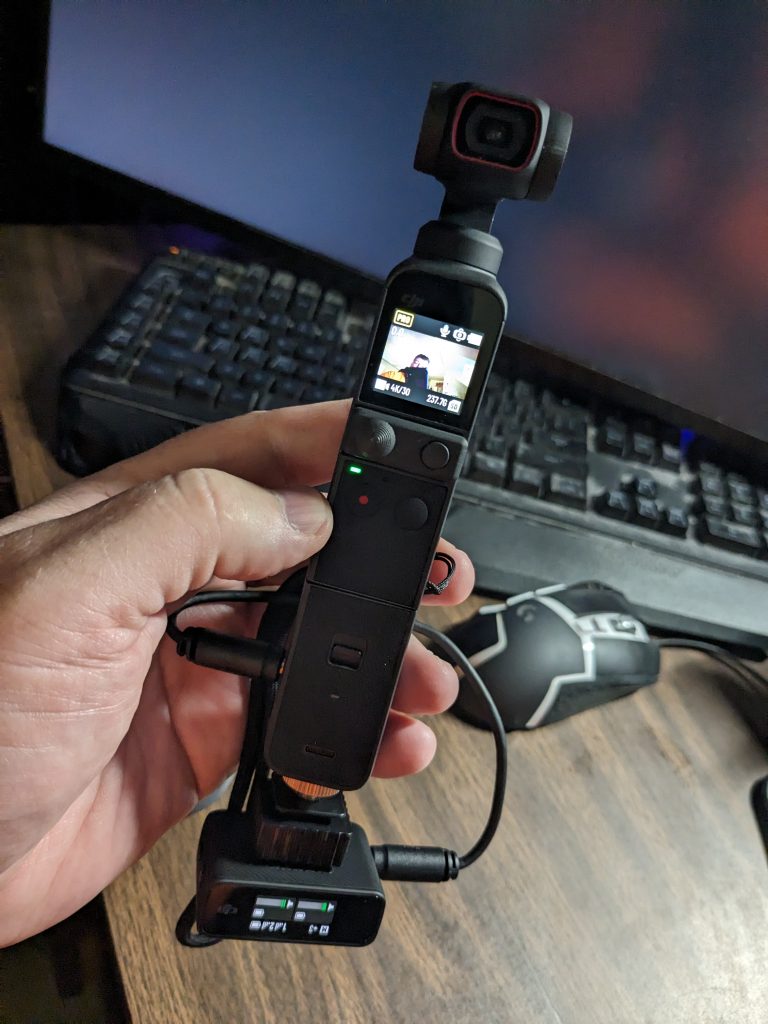
I’ve added a DJI Pocket 2 gimbled vlogging camera and some wireless DJI microphones. These allow for more spontaneous motion shots.
- DJI Pocket 2 on Amazon
- Do-it-all handle to add wifi and microphone input
- Creator combo with handle, wireless mic and mini-tripod (I did not get this version)
- Lens filter set for DJI Pocket 2
- New DJI Pocket 3 on Amazon – newer model that cost too much for me to try as a first time user
- DJI wireless mic set on Amazon
- New DJI wireless mic version 2 set on Amazon – I don’t have these
- Similar looking microphone set at a much cheaper price – I don’t have these
- Monopod for doing crane/drone looking shots with the DJI pocket cameras (I have one similar to this one.)
- Small arm/clamp set for attaching phone to monopod at lower end.
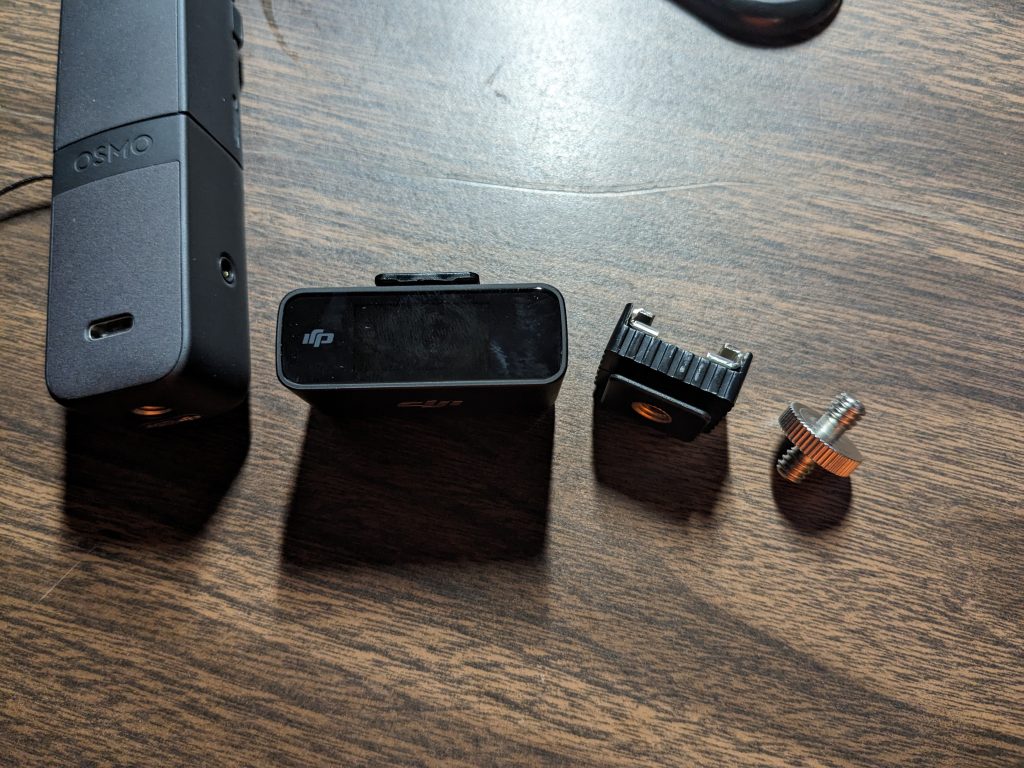
- Hotshoe mount adapter
- Lavalier wired microphone pair to connect to DJI wireless mic transmitters
Main Camera Upgrade
I have also upgraded to a full-frame, mirrorless, camera body that will do a better job of shooting video. I added a standard set of accessories that I do whenever I get a new camera. Over time I also added some flexible zoom lenses.
- Canon R8 Camera on Amazon – mine was a refurb direct from Canon
- RF24-50mm F4.5-6.3 IS STM Lens
- Creator combo kit (I didn’t get this as I already had microphones and tripods)
- 58mm UV filter – protects the front of the lens
- Canon adapter to use EF lenses (as the 80D and earlier EOS cameras use) to RF (as the R8 and newer EOS cameras use)
- 256gb memory card
- Extra battery – this model has a fairly small battery, so one or more spares are a must!
- 3rd party batteries and charger – for use when the two Canon batteries are not enough
- Canon RF 24–240mm F4-6.3 is USM Lens, UV Filter, Lens Hood
- Canon RF 100-400mm F5.6-8 IS USM Lens or Canon Refurb, UV Filter, Lens Hood
- Generic dark camera strap – doesn’t advertise my expensive camera like the included one does and is non-jarring in SCA use
- Lens cap keeper pack
- Tempered glass LCD screen protector
- Small camera bag
- Medium camera bag
- Inexpensive video tripod with fluid head for moving shots
Drone/Crane-like shots
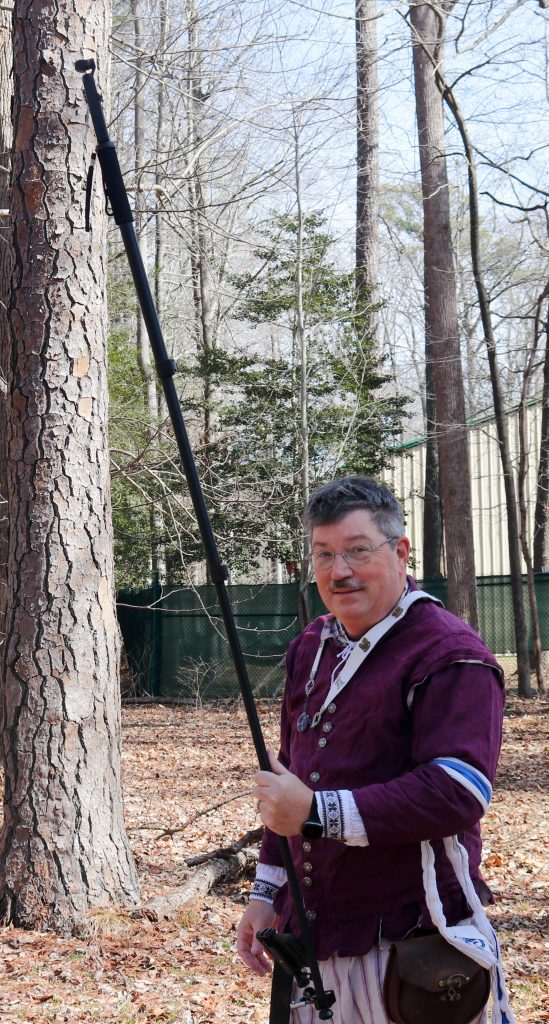
During my YouTube research that led to buying the Pocket 2, I saw people using it with a monopod to simulate a crane shot. This was my first time using the camera in any fashion, so I still need some practice. You can see the raw footage that I shot with it here. The “do-it-all handle” allowed me to monitor the camera using my cell phone while the camera was being held up in the air and its tiny screen was not visible. I have not yet used any of the other new gear.
Here’s a picture of me with the pocket 2/monopod rig extended. I could actually hold it a little higher than this if I wished.
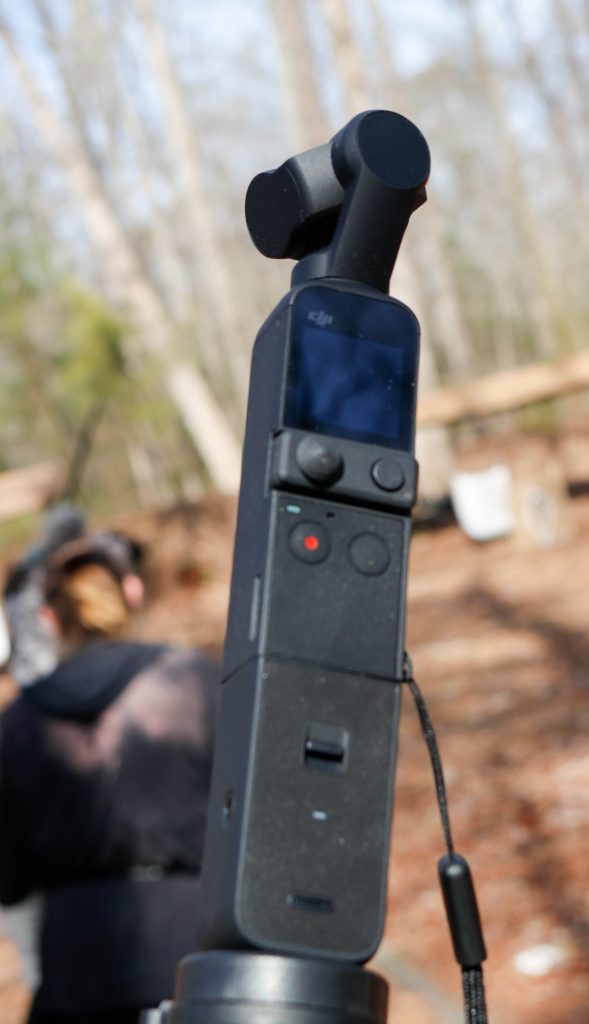
Here’s the DJI pocket 2 attached to the tripod mount at the top of the monopod.
And here’s my cell phone attached to the bottom of the monopod allowing me to watch and control the camera. One pro-tip for this setup is to avoid having the clamp holding the cell-phone positioned such that it presses on any of the phone’s buttons – sound or power.

The DJI software allows me to change all of the camera settings and start and stop recordings without having to touch the camera itself. I was very pleased with how the battery on both the camera and the cell phone lasted through my trial runs. The 4K video output from the camera was amazing.
Alas, my copy of Adobe Premier Pro was so old that it had issues loading most of the footage. It turned out that I had recently purchased a copy of Corel Video Studio Pro from a Humble Bundle bundle. I installed that copy and was able to edit my video. It doesn’t seem as powerful as Premier. I have now switched to DaVinci Resolve which was recommended by a friend and has a very powerful free version. Blender has also been added to my system to do some simple effects for my videos.
Hooking things up
I had to buy a hotshoe mount adapter to mount the DJI microphone receiver to the DJI Pocket 2. The microphone receiver has an included clip to mount to the flash/hot shoe on your camera. It doesn’t connect there electrically, the shoe is just a stable mounting point. But, the pocket 2 only had a tripod mounting screw. So, the adapter gave me a compatible mount point that made things easy to use while filming.
Finished video with new gear
Gear in hand and video planned, it was time to do some shooting. We shot everything in one day, checked the video and sound, and then did reshoots a week later to replace footage with a sound failure. Without further ado, here’s the finished product:
All of the selfie intro/outro shots and the panning side shot about two-thirds of the way through the video were shot with the DJI Pocket 2/microphone rig and a lavalier microphone clipped to my lapel and wired inside my shirt to the transmitter clipped to my belt. We shot the static explanation shots (like in the thumbnail image above) on the R8 camera with a shotgun mic. (I am wearing the DJI transmitter but we didn’t end up hooking it up to the camera).
Editing and Post-Processing
This video was edited in DaVinci Resolve where I used its color correction capabilities to improve the match between footage shot in two different locations a week apart and its sound leveling capabilities to even out the sound levels between the shots with a shotgun microphone and those with the lapel mic.
Next, Blender was used to create the “wall” special effect. This was tedious as I had to move the corners of the rectangle every 10 frames of video shot at 30 frames per second. For a couple of places where the swords moved quickly, I had to update the wall corners more frequently at every 5 frames. I spent a full weekend watching how-to videos on Blender, trying things, making mistakes, recovering from accidental deletions, etc. Once I developed an approach that would work, it took another week of testing, rendering, merging the effects overlay with the video in Resolve, and correcting mistakes to produce the final product.
I also used YouTube’s end of video links for the first time by adding a 20 second end to the video with appropriate aspect ratio spots to drop a circular “subscribe” button and two “watch this next” video links. With those and the higher quality and higher production value video, I felt like I had made a significant improvement in my YouTube game.
2025 Purchases
So far in 2025 I have picked up a couple of items that I haven’t had much time to use yet. I bought a Blackmagic Design Speed Editor with Davinci Resolve which gave me the paid version of Resolve and a RODE VideoMic Go II-Helix microphone with fuzzy windshield. This microphone does not require batteries and may fix some intermittent RFI interference that I was getting with the old shotgun mic.